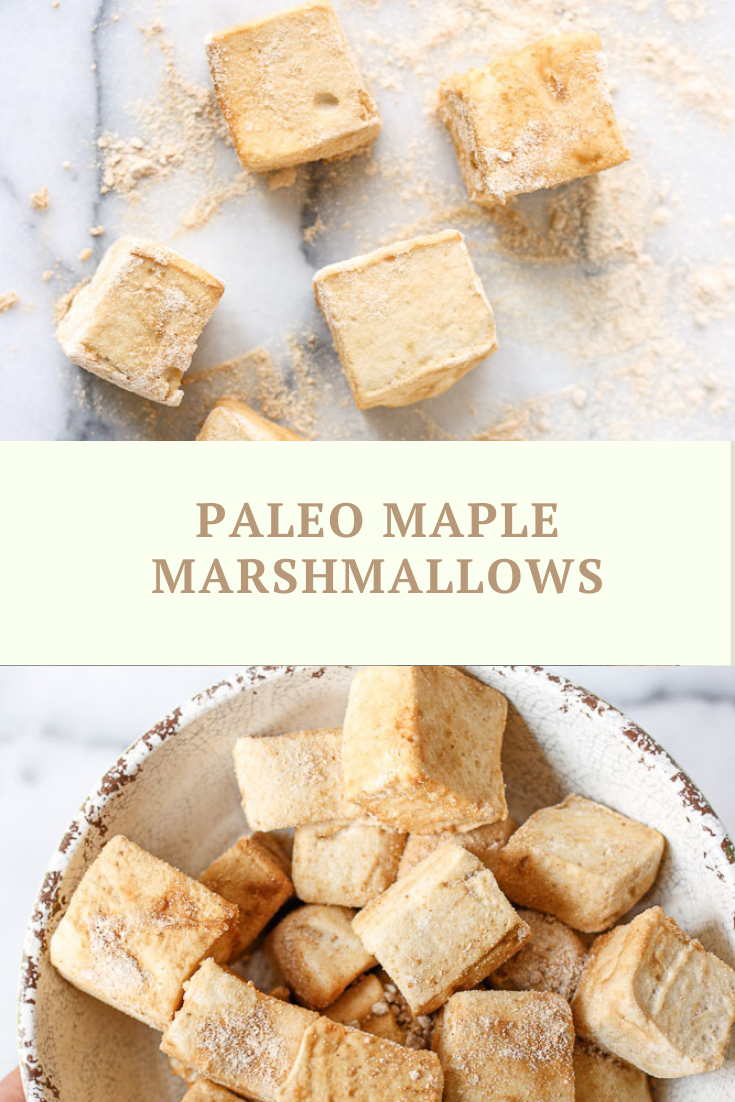
Paleo Maple Marshmallows
If you love marshmallows, these Paleo Maple Marshmallows will make you grin from ear to ear. They taste and feel like traditional marshmallows but they are healthy.
Marshmallow anything makes me happy. I love s’mores and I love marshmallow fluff and marshmallow sauce on ice cream and marshmallow rice krispie treats. I love these squishy pillows straight from the bag. Well, you get the picture.
BUT, and this is a big BUT, I almost never eat them because, well, traditional marshmallows really are like pure sugar, and, as Steve is fond of saying about me: “Stacey thinks sugar is the devil…”
While that is wholly dramatic and really not true, I really do stay away from them because, while eating one or two might be fine and might not upset my system, I am completely incapable of just having one or two. I know this about myself. Marshmallows and potato chips. Same thing. Can’t do it. Won’t even try. Okay, unless I’m by a fire pit with friends and I’ve been drinking a bit. And then, I make a grown ass decision to eat them knowing how crappy I’m likely to feel later.
Enter… these amazing Paleo Maple Marshmallows. They are like magic. They taste and feel like the real things. OMG, they make me so happy. I’ve only made these in maple flavor so far, but stand by, because I will be experimenting and making them in different flavors soon — I’m thinking vanilla. And strawberry.
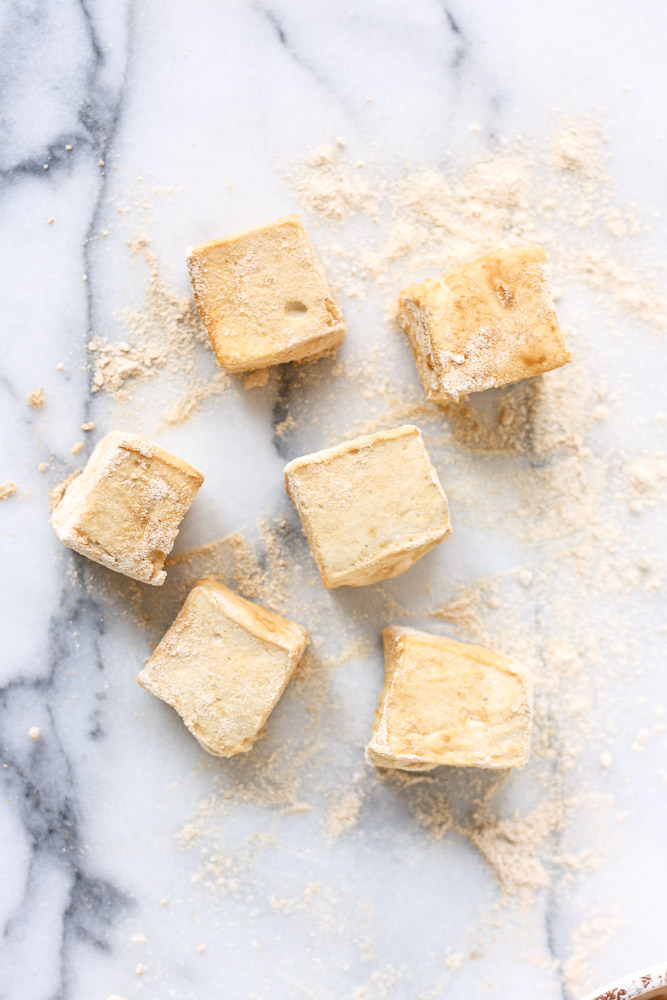
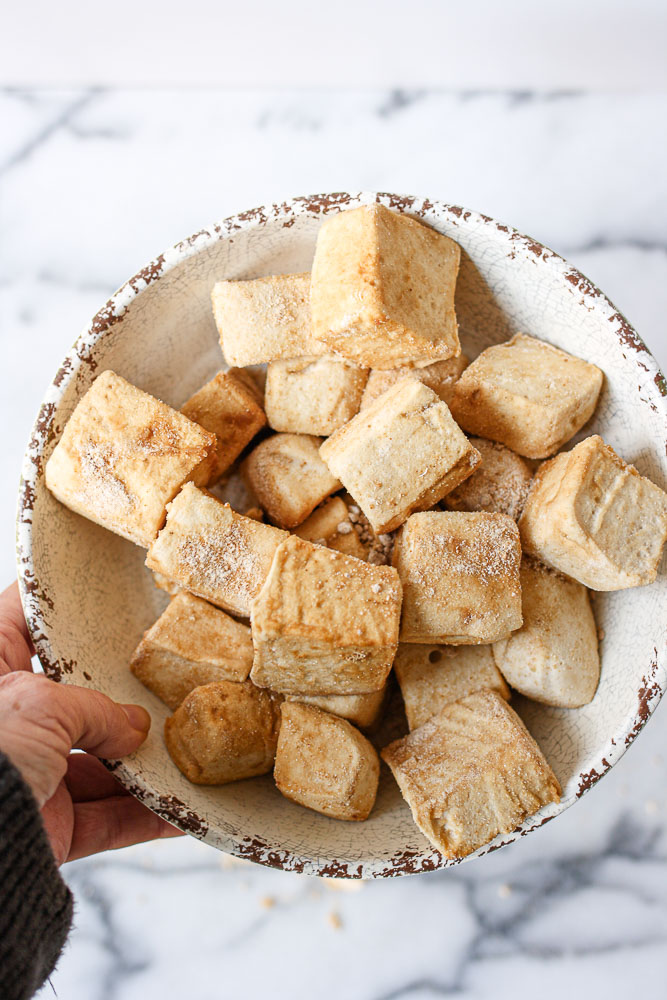
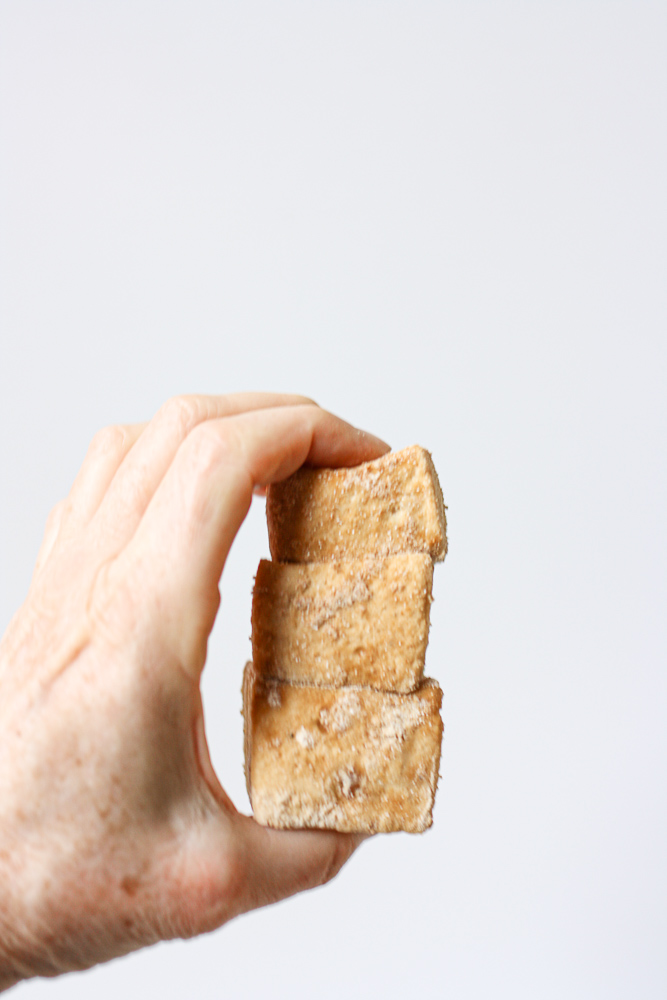
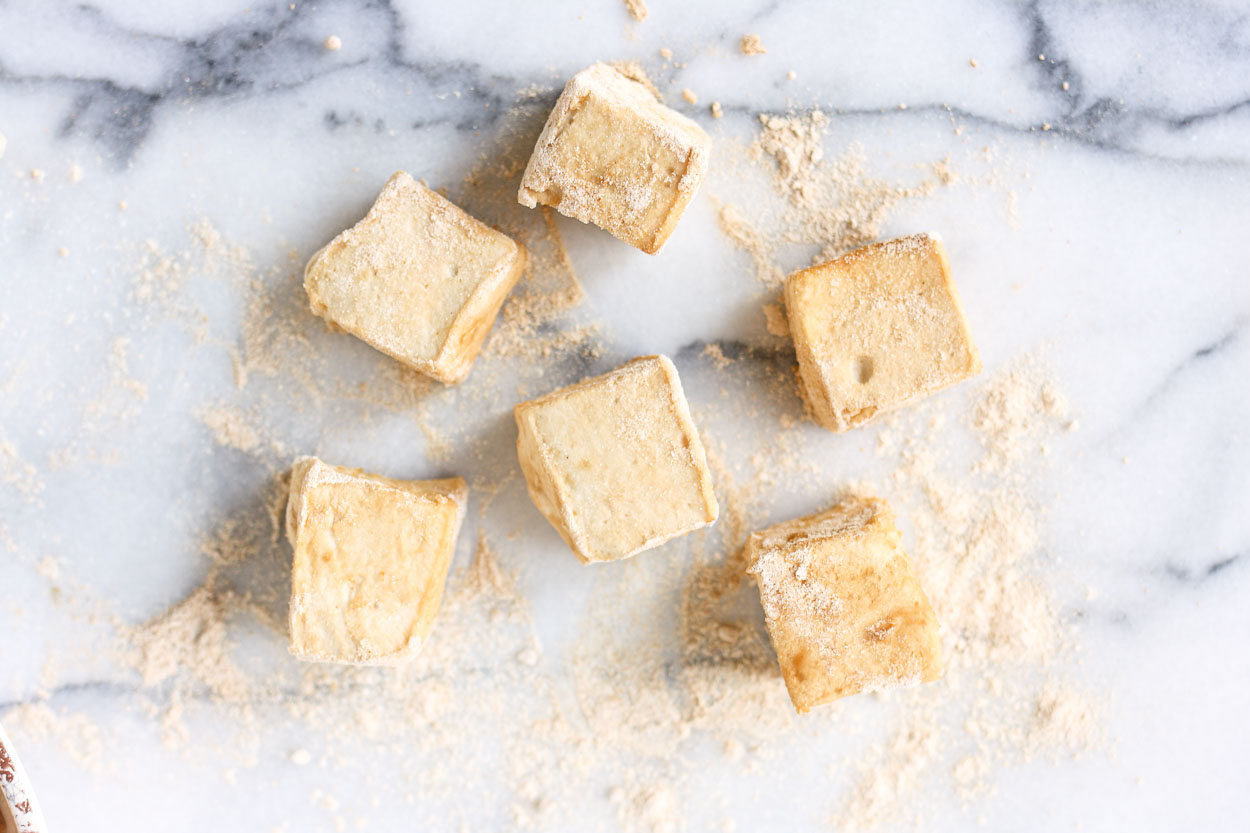
I wish these photos did these luscious pillows of deliciousness (yeah, I know, a lot of adjectives… but all accurate) justice. They are slightly tan in color because of the maple. I dusted them with my homemade confectioners sugar (2 ingredients and the recipe is below) so they have the same silky feel as traditional marshmallows. I use maple in the marshmallows themselves and coconut sugar in the coating, hence (yup, that word’s a holdover from my lawyer days) the brownish hue.
Anyway, if you are a marshmallow fan, you have to try these Paleo Maple Marshmallows. Really. Make them — they are incredibly easy to make — take some pics and tag me in them. I know they will make you smile too.
I do love “magic” desserts. You know, those treats that taste like the desserts we loved in our childhood, but that somehow are healthy. If you want to try another one, try my Creamy Vegan Chocolate Mousse recipe.
And, by the way, pure maple syrup contains antioxidants that help reduce inflammation in the body (think IBS or heart disease). It also contains zinc, calcium, and magnesium. It’s much lower on the glycemic scale than traditional sugar. Whenever possible, use a darker (grade B) syrup because the nutritional composition is better than that of lighter syrups.
Many years ago, when I worked at the Food Network, there wasn’t much interest in cooking healthy, but times have changed. Here’s a great article on their take on the benefits of maple syrup.
If you are looking for a great way to use these marshmallows, download my free ebook: Healing Hot Drinks For Tea Lovers. Make the Cinnamon Hot Chocolate… OMG!
Here are a few reasons why these Paleo Maple Marshmallows are healthy:
Gelatin is great for your bones, joints, sleep, skin, and hair. It’s a superfood and it’s a protein. I use an organic grass-fed gelatin (see the recipe below).
Pure Maple Syrup contains antioxidants that help reduce inflammation in the body (think inflammatory bowel syndrome or heart disease). It also contains zinc, calcium, and magnesium. It’s much lower on the glycemic scale than traditional sugar and it doesn’t cause as big of a blood sugar spike as sugar. Whenever possible, use a darker (grade B) syrup because the nutritional composition is better than that of lighter syrups.
Tapioca is a starch that comes from the cassava plant. It’s not really a flour in the traditional sense; it’s grain and gluten free. It’s good for your circulation and your digestion.
| Paleo Maple Marshmallows | Print |
- 1 cup water, divided
- 3 Tbs grass-fed gelatin
- 1 cup pure maple syrup
- ¼ tsp fine salt
- ¼ cup tapioca flour
- For Powdered Sugar:
- ½ cup coconut sugar
- 2 tsp tapioca flour
- Make your powdered sugar: In a small container, stir together the coconut sugar and tapioca flour. Set aside.
- Line an 8 x 8 inch pan with parchment paper and sprinkle the bottom with a few Tablespoons of the powdered sugar. Set aside.
- Pour ½ cup water into a mixing bowl (I used my stand mixer).
- Sprinkle the gelatin on top of the water and let it sit while you continue with the recipe.
- Pour the remaining ½ cup water into a medium pot set over medium heat.
- Add the maple syrup and salt and stir to combine. Continue stirring for 1-minute, then do not stir again.
- Place your candy thermometer in the mixture for the remaining cooking time.
- Cook, over medium heat until the mixture reaches 240°F. This is the "soft ball" stage.
- Beat the gelatin on low to break it up.
- Carefully add the maple mixture, and continue beating until it resembles marshmallow fluff. Start on low, then gradually increase the speed of your mixer to high, this can take anywhere from 5 to 10 minutes. You can tell if it's done by touching the mixture -- it should be fairly cool when you touch it.
- Pour the mixture into the prepared pan and quickly smooth out the top.
- Sprinkle the top with more powdered sugar.
- Let the pan sit at room temperature for at least 5 hours or until set.
- Cut the marshmallows into squares, using a sharp knife.
- Then, you can put them in a bowl and toss with more powdered sugar if desired.
- These marshmallows will keep for several days in a sealed container at room temperature.
- Enjoy!